Ultrasonic Dental Scaler: Cleaner Teeth at Home with Safe, Step-by-Step Use
An ultrasonic dental scaler helps lift plaque and tartar from tooth surfaces using high-frequency vibration. Used correctly, it can support a cleaner feel between dental visits—especially around hard-to-reach spots. This guide covers what it does, who it’s for, how to use it safely, and what to avoid to protect enamel and gums.
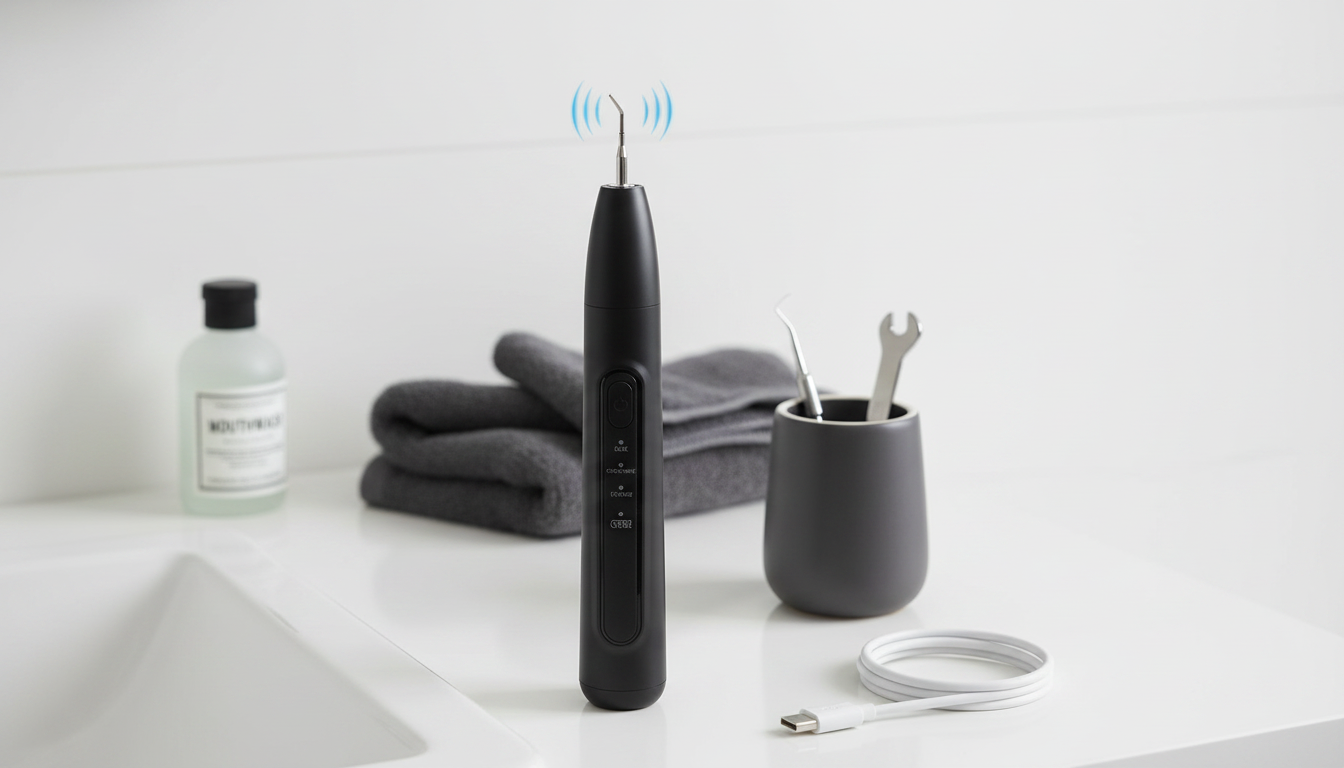
At-home ultrasonic scalers use rapid vibration to loosen buildup on tooth surfaces. Depending on the model, the vibrating tip may work alone or alongside water flow to help dislodge debris. When used with a light touch and good visibility, they can help target areas that toothbrush bristles sometimes miss—like the inner surfaces of lower front teeth where tartar often forms.
That said, these tools are best for visible plaque and small, surface tartar deposits. They are not designed to treat gum disease, remove heavy calculus across multiple teeth, or clean deep deposits under the gumline (subgingival tartar). Dental professionals can assess pocket depth, inflammation, and tissue health and can perform scaling and root planing when clinically needed.
If your teeth still feel rough along the gumline even after brushing and flossing, mineralized tartar may be present. Tartar can be stubborn, and trying to “chip” it off at home can irritate gums or scratch tooth surfaces—so it’s important to set realistic limits and know when to stop.
Who should (and shouldn’t) use one
Ultrasonic scalers can make sense for adults who get occasional surface tartar or plaque buildup—especially if coffee or tea stains tend to cling to plaque. People with orthodontic hardware or retainers that trap plaque may also benefit, but only with extra caution and a conservative technique to avoid catching edges or irritating the gumline.
Some situations call for avoiding home scaling entirely or getting dental guidance first: active gum bleeding, loose teeth, significant gum recession, or recent dental work such as crowns, veneers, or implants (wait until a dentist confirms it’s safe). If teeth are sensitive, lower intensity settings and short sessions are typically better tolerated, and a desensitizing toothpaste may help between cleanings.
If there is pain, swelling, pus, persistent bad breath, or known gum pockets, professional evaluation is the safer next step. For background on gum disease warning signs, see the American Dental Association’s overview at MouthHealthy (Gum Disease) and the CDC’s guidance at Periodontal (Gum) Disease.
How to use it safely: a practical routine
A safer session is less about power and more about preparation, angles, and patience. The goal is to gently loosen surface buildup while keeping the tip on tooth structure—not gum tissue.
1) Prep for visibility and control
- Brush and floss first to remove soft plaque so you can see and feel what’s truly stuck.
- Rinse to clear debris, then use a mirror and bright light so you’re not working “by feel.”
2) Start low and stay on tooth surfaces
- Begin on the lowest intensity setting and test on a smooth front tooth surface.
- Increase only if needed—and only when you can keep the tip on enamel (not the gums).
3) Use the right angle and almost no pressure
- Keep the tip nearly parallel to the tooth surface.
- Use light contact and slow, controlled strokes; let vibration do the work.
- Never “dig” at the gumline or push the tip into the sulcus (the space where gum meets tooth).
4) Work in short passes and rinse often
5) Finish with fluoride and recovery time
Safe at-home scaling checklist
| Step |
Do |
Avoid |
| Before starting |
Brush + floss; use good lighting and a mirror |
Working blind or rushing |
| Settings |
Begin on low intensity; test on a front tooth surface |
Jumping to maximum power immediately |
| Technique |
Light touch; tip flat against tooth; short strokes |
Prying at tartar or pushing into gums |
| Problem areas |
Stop if pain/bleeding persists; switch to professional care |
Continuing through sharp pain or heavy bleeding |
| Aftercare |
Rinse; brush with fluoride; monitor sensitivity |
Skipping fluoride or scaling again the next day |
Common mistakes that cause sensitivity or gum irritation
Cleaning, maintenance, and tip hygiene
If you want a small, non-oral accessory for cleaning the scaler’s exterior seams or around charging ports (not for use inside the mouth), a compact tool like the Double-ended Portable Makeup Brush can help dust away residue once the unit is unplugged and completely dry.
When professional care is the better choice
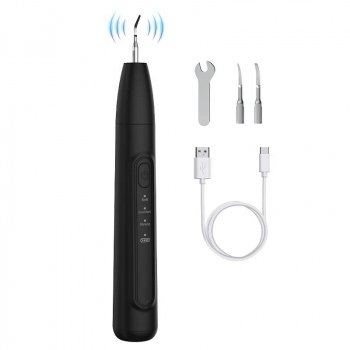
If you’re looking for a compact option for occasional touch-ups, the Ultrasonic Dental Scaler can support routine plaque control when used gently and intermittently. Best results come from pairing careful technique with daily brushing, flossing, and regular dental checkups. Use on tooth surfaces only, and stop if there is sharp pain, persistent bleeding, or increasing sensitivity.
FAQ
Can an ultrasonic dental scaler remove tartar at home?
It can help lift small, surface tartar deposits when you use light pressure and keep the tip on the tooth surface. Thick buildup or tartar under the gums is safer to remove with a dental professional.
How often is it safe to use an ultrasonic dental scaler?
Occasional touch-ups are generally safer than daily use because frequent scaling can irritate gums and increase sensitivity. If you notice you “need” it often, a dental cleaning and a review of your home routine can help address the cause.
Is it safe to use on crowns, veneers, braces, or implants?
Use extra caution and get dental guidance first, since restorations and implants can be damaged or tissues can be irritated if you catch an edge or work too close to the gumline. If you do use it, stay on low settings, avoid margins, and stop immediately if discomfort starts.
Recommended for you











Leave a comment